
tl;dr: 센서를 잔뜩 달고 LLM까지 붙여서 사무실에서 무슨 일이 일어나는지 우리에게 알려주도록 만들었다. 글은 길지만 구조는 단순하다. 일상에서 내가 LLM을 마구 써먹는 방식을 보여 주는 꽤 좋은 데모다.
2019년, 친구 Ivan과 함께 시카고의 정말 멋진 스튜디오에 터를 잡았다. 주로 농땡이 치며 잡다한 프로젝트를 만드는 게 일이었다.
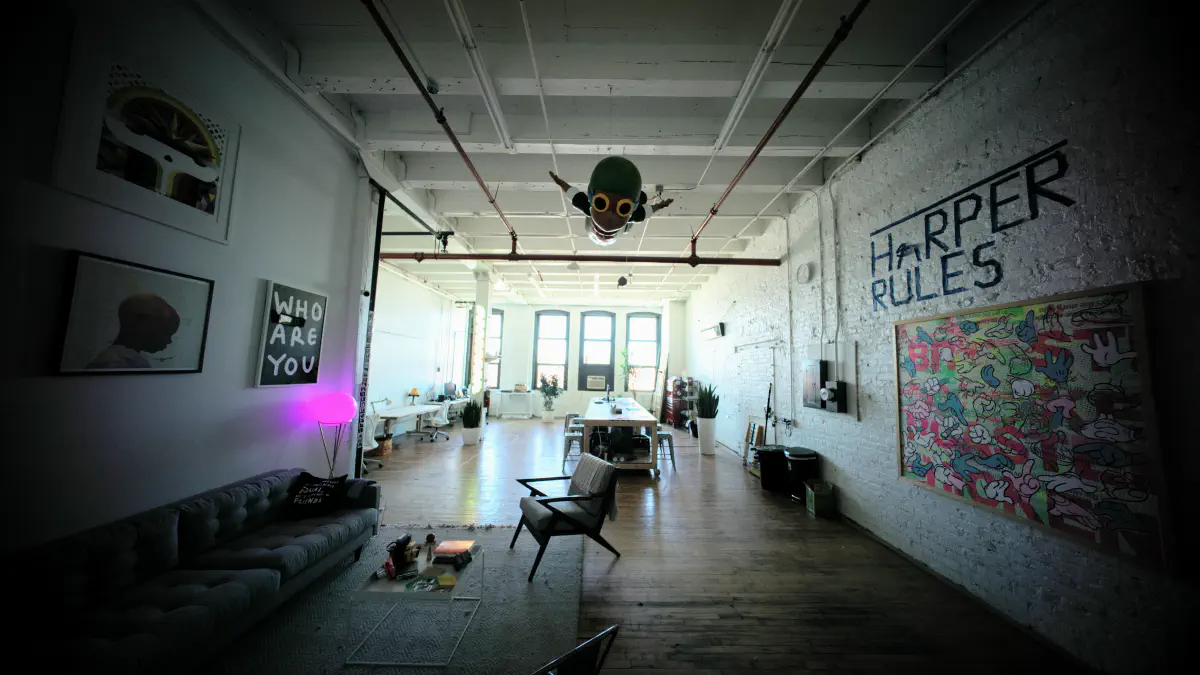
처음에 내가 집중한 건 사무실에 센서를 달고 자동화를 돌리는 일이었다. 언제든 사무실 환경을 파악할 수 있게 하려는 목적이었다.
우린 Home Assistant로 모든 센서를 한데 모았다. 그리고 아주 심심한 자동화를 몇 개 만들어 상태를 알려 주게 했다.
알림은 대충 이랬다:
- 사람이 도착하면 알림
- 온도가 너무 높거나 낮으면 알림
- CO₂ 농도가 너무 높으면 알림
- 문이 열리거나 닫힐 때 편의점 문 징글벨 소리
알림은 슬랙과 마이크를 꺼 둔 오래된 Google Home 스피커로 보냈다. 이 스피커는 성능도 괜찮고 소리도 좋다. 공간 한가운데 약 12피트 높이에 달아 두면 사방에서 소리가 울린다. ‘알림 전용 스피커’를 찾는다면 꽤 괜찮다.
예시는 이렇게 심심하다.
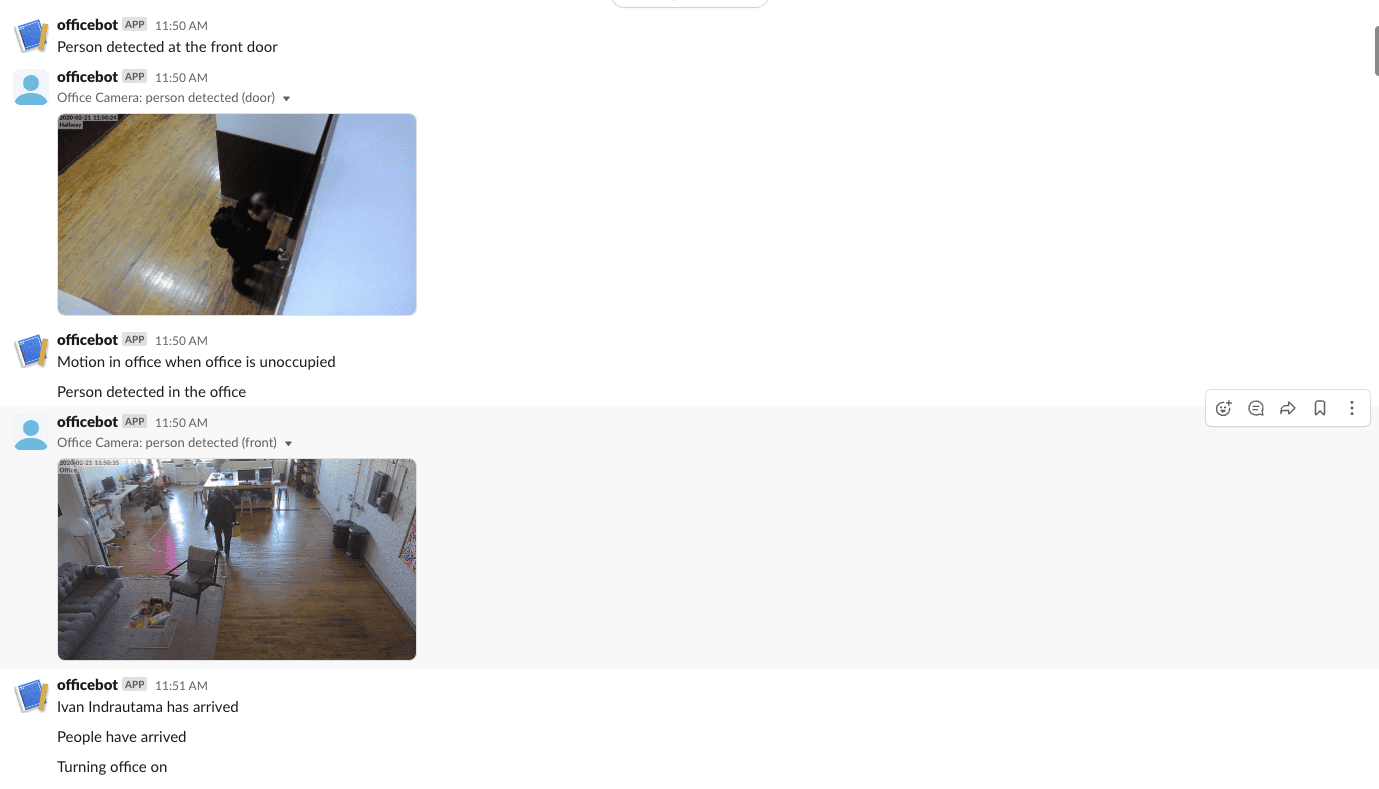
효과는 있지만 꽤 밋밋하다.
우리가 사무실에 있을 때도, 없을 때도 이 알림은 유용했다. 코로나 초기 아무것도 모를 때, 원격으로 사무실 상태를 확인할 수 있다는 것만으로도 든든했다.
사무실에 있을 때는 음성이나 주변 알림 덕분에 공간이 모든 걸 알고 약간의 성격까지 가진 것 같아 미래적 느낌이 났다.
그리고… 무슨 일이 닥쳐올지는 상상도 못 했다.
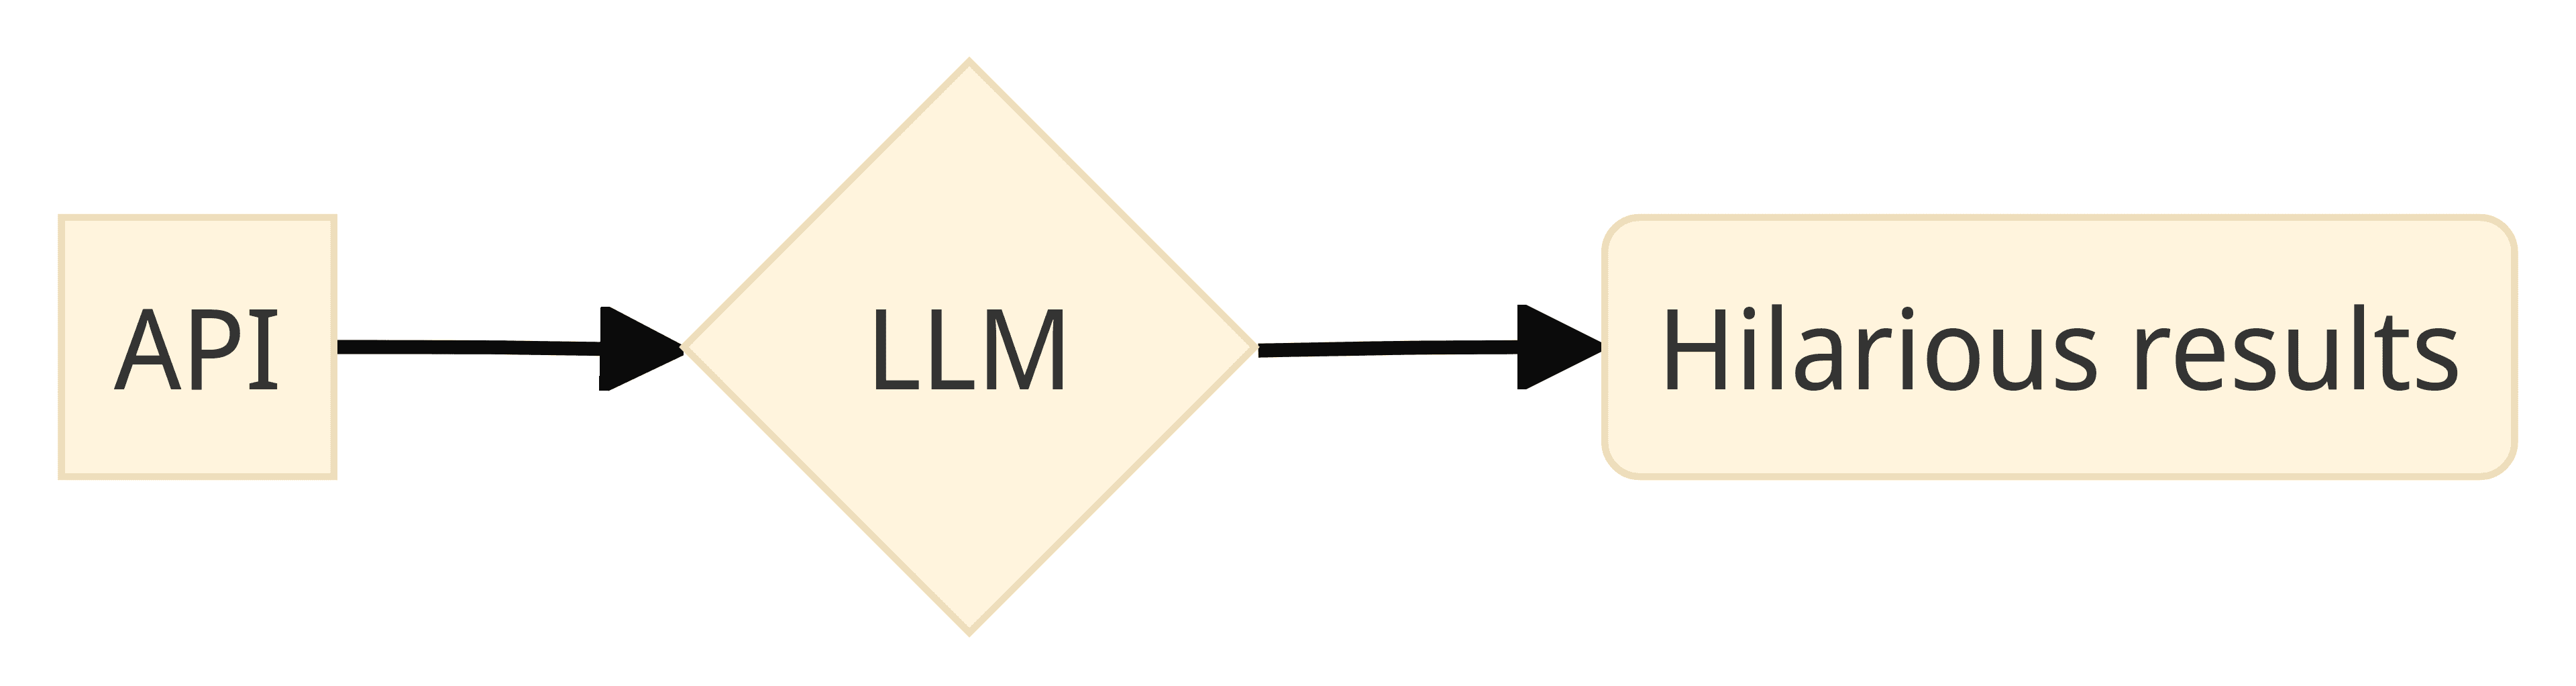
JSON 특이점이 도착했다.
이제 LLM 혁명이 세상을 뒤흔들고 있다. 앞으로 지식 노동은 더 기괴하고, 재미있고, 복잡해질 거다.
2020년 GPT-3가 나오자마자 나는 별난 소프트웨어를 만들어 보기 시작했다. 일상에서 이 기술을 어떻게 써먹을지 고민하며 봇을 많이 만들었는데, 대부분 출력이 꽤 개인적이었다.
내가 가장 좋아하는 “발현된” 트릭은 구조화된 JSON 데이터를 LLM으로 산문, 그러니까 ‘시’ 말고 일반 문장으로 바꾸는 것이다.
예를 들어 이런 JSON을 던지고
{
    "current_temperature_f": 32,
    "conditions": "snowing"
}
프롬프트는 이렇게 짧게:
What should I wear. Be concise, have some personality. Think of this as a tweet telling people what to wear
GPT-4-turbo가 내놓는다:
Brrr, it’s 32°F and snowing! 🌨️ Bundle up in your coziest layers, don’t forget a warm coat, gloves, and a hat. Snow boots are a must. Stay toasty, friends! #WinterWonderland #DressWarm
직관적이다. 더 좋은 건 JSON을 미리 엄격하게 맞출 필요가 없다는 점. LLM이 아주 유연하다. 예를 들어 항목 하나를 막 끼워 넣어 보자.
{
    "current_temperature_f": 32,
    "conditions": "snowing",
    "air_quality": "really really bad"
}
프롬프트는 그대로인데 결과는:
Bundle up in your warmest gear & don’t forget a mask! 🌨️❄️ With temps at freezing & air quality on the naughty list, it’s all about layers & protection. #StayWarm #BreatheEasy
사실상 마법이다.
파이썬이나 Node로 살짝만 엮으면, 매일 아침 날씨 데이터만 넣어도 “오늘 뭐 입지” 알려 주는 봇이 완성된다.
웃긴 점: 앱을 만들다 에러가 나면 LLM이 같은 프롬프트를 그대로 적용해 에러마저 패션 조언으로 바꿔 버린다.
Facing a 401 server error? Channel that frustration into fashion! Rock a bold, error-proof outfit today: a statement tee, comfy jeans, and sneakers that say ‘I’m too fabulous for server issues.’ 💻👖👟 #FashionFix #ServerChic
나는 이 패턴을 자주 쓴다. 예를 들면
- 수면 성능 분석
- 날씨 봇
- Chicago Alerts 트위터 계정
- e-ink 주변 디스플레이용 센서 결정
(걱정 마, 전부 따로 문서로 정리할 예정이니까.)
다시 사무실로
2023년 초 회사가 하강 곡선을 그리기 시작하면서 정신 전환용으로 사이드 프로젝트에 더 몰두했다. 사무실에도 일부러 더 나가 팀과 시간을 보내다 보니, 2019년에 만들었던 상태 기반 자동화의 한계가 뚜렷해졌다.
새로운 패러다임과 남는 시간을 등에 업고, 사무실 알림 시스템을 다시 만들기로 했다.
먼저 센서 데이터를 수집해 ChatGPT에 수동으로 넣어 보며 반응을 살폈다. 매우 직관적이었고, 역시 모든 것은 프롬프트의 힘이었다.
첫 프롬프트는 이랬다:
You are HouseGPT.

You are a AI that controls a house. Similar to Jarvis in the iron man movies.
Your job is to notify people in simple english what is happening in the house
you control. Your updates should be short and concise. Keep them tweet length.

You will be given the house default state. This is what the state the house
is without any activity or movement. You will then get a current state. This
is what is happening in the house right now.

Compare the states and output your update. Ignore anything that hasn't
changed since the last state notification. Also ignore any state that
is 'unknown.'

Don't mention things you don't know about, and only mention what is in the
state update. Do not list out events. Just summarize.

Interpret the co2 and airquality results into prose. Don't just return the
values.

Remember to use plain english. Have a playful personality. Use emojis.
Be a bit like Hunter S Thompson.

The default state is:
{default_state}

# The current state is:
{current_state}

# The previous state was:
{last_state}
기본 상태(default_state)로 ‘정상’을 알려 주고, 현재·이전 상태를 함께 넘겼다.
예를 들어 문 센서라면
- default_state:
{ "front_door": "closed" } - current_state:
{ "front_door": "open" } - last_state:
{ "front_door": "open" }
LLM의 답:
No new updates, folks. The front door’s still embracing the great outdoors! 🚪🌿
변화가 없으니 새 소식이 없다는 뜻이다. 문을 닫으면?
Front door’s shut tight now! 😎✌️ No more drafts or uninvited guests!
꽤 설득력 있다. 약간 시끄럽긴 해도!
이제 여러 센서 신호를 한꺼번에 넣어 보기로 했다.
센서 묶기
센서가 바뀔 때마다 알림이 오면 피곤하다. 2019년 버전보다 나은 시스템을 만들려면 센서들을 묶어야 했다.
그래서 아주 단순한 Flask 앱을 만들어 MQTT로 들어오는 센서 JSON을 모았다가 시간, 변화 속도(이벤트 발생 빈도), 개수 조건이 맞으면 여러 JSON 상태를 하나의 페이로드로 묶어 보냈다.
객체 예시는:
{
    "entity_id": "binary_sensor.front_door",
    "from_state": "on",
    "to_state": "off",
    "timestamp": "2024-03-25T13:50:01.289165-05:00"
}
이를 묶으면:
{
    "messages": [
        {
            "entity_id": "binary_sensor.front_door",
            "from_state": "on",
            "to_state": "off",
            "timestamp": "2024-03-25T13:50:01.289165-05:00"
        }
    ]
}
그리고 OpenAI에 보내 산문으로 변환한다:
Congratulations, the front door is now closed. One less way for the inevitable to find its way in. Keep up the vigilance; it might just prolong your survival.
놀랍게도 아주 잘 작동한다.
이 모든 건 우리의 친구, MQTT가 담당한다.
Home Assistant가 센서 변화를 MQTT로 보내면 Flask가 받아 가공한다.
빠르게 변하는 센서용(5초)
alias: "AI: State Router (5 seconds)"
description: ""
trigger:
  - platform: state
    entity_id:
      - input_boolean.occupied
      - lock.front_door
      - binary_sensor.front_door
      - switch.ac
    for:
      hours: 0
      minutes: 0
      seconds: 5
condition:
  - condition: state
    entity_id: input_boolean.occupied
    state: "on"
action:
  - service: mqtt.publish
    data:
      qos: 0
      retain: false
      topic: hassevents/notifications
      payload_template: |
        {
          "entity_id": "{{ trigger.entity_id }}",
          "from_state": "{{ trigger.from_state.state }}",
          "to_state": "{{ trigger.to_state.state }}",
          "timestamp": "{{ now().isoformat() }}"
        }
mode: single
느리게 변하는 센서용(5분)
alias: "AI: State Router (5 minutes)"
description: ""
trigger:
  - platform: state
    entity_id:
      - sensor.airthings_wave_183519_co2
      - binary_sensor.sitting_area_presence_sensor
      - binary_sensor.ivan_desk_presence_sensor
      - binary_sensor.harper_desk_presence_sensor
      - binary_sensor.stereo_presence_sensor
      - binary_sensor.tool_area_presence_sensor
    for:
      hours: 0
      minutes: 5
      seconds: 0
condition:
  - condition: state
    entity_id: input_boolean.occupied
    state: "on"
action:
  - service: mqtt.publish
    data:
      qos: 0
      retain: false
      topic: hassevents/notifications
      payload_template: |
        {
          "entity_id": "{{ trigger.entity_id }}",
          "from_state": "{{ trigger.from_state.state }}",
          "to_state": "{{ trigger.to_state.state }}",
          "timestamp": "{{ now().isoformat() }}"
        }
mode: single
두 자동화 모두 사무실이 occupied일 때만 작동한다. 돈 들여 응답을 생성하는데, 우리가 없을 때 공기질 얘기를 들을 필요는 없으니까 😉
Home Assistant 자동화라서 센서만 추가하면 에이전트가 바로 수다를 떤다.
프롬프트는 따로 파일로 빼 놓아 전체 스택을 재시작하지 않아도 사무실 알림의 ‘빈정거림’ 농도를 조절할 수 있다. 이게 정말 편하다.
그런데… 시야까지!
시스템이 안정적으로 돌아가자 “사무실이 볼 수도 있으면 재미있지 않을까?” 하는 생각이 들었다. 조금 위험해 보이지만 웃기니 시도했다.
모션 센서가 트리거되면 보안 카메라 스냅샷을 찍어 LLAVA를 돌리고, 그 결과를 JSON으로 받아오는 간단한 코드를 작성했다.
# (코드 생략. 정말 단순하다)놀랍게도 잘 된다.
이 JSON을 센서 수집기에 던지면 다른 센서처럼 취급한다.
{
    "description of activity": "A man is standing in the office space, looking at his cell phone. He is wearing a white shirt and glasses. The office has a work table, chairs, and a stereo. There are also several potted plants and a TV in the room.",
    "number of people": "1",
    "people": [
        {
            "activity": "looking at cell phone",
            "description of person": {
                "accessories": "glasses",
                "age": "30s",
                "clothing": "white shirt",
                "emotion": "neutral",
                "gender": "male",
                "hair": "beard",
                "height": "tall",
                "other": "wearing glasses"
            },
            "motivation": "checking messages or browsing the internet"
        }
    ]
}
그러면 에이전트가 말한다:
I managed to detect a man interacting with modern technology. Let’s hope his browsing doesn’t lead him to discover how inconsequential we all are in the grand scheme of the universe
이제 에이전트가 본다! 한 단계 더 올라갔다.
Look at Mr. Productivity over there, standing all tall, focused, and fashionable in his matching blue outfit. Hopefully, he’s actually working and not just posing for a laptop ad
곧이어:
Looks like our male model in business casual traded standing for sitting. Riveting change. Now he’s “focused” at his desk with his laptop. Work must go on, I guess.
옷차림 평가도 빠지지 않는다:
Oh look, the front door decided to close itself. And surprise, someone is gearing up to leave. Maybe they realized this is not a fashion show despite the all-black ensemble.
모두 합치니
모든 것을 연결하고 나서, 내가 사무실을 떠날 때 이런 알림이 나왔다:
The front door had a moment of indecision but eventually closed, and some mysterious middle-aged man with a penchant for black hats and serious expressions escaped the office. Oh, and the front door is now as secure as my sense of job satisfaction: locked.
그리고 이제 우리 사무실 Discord는 이렇게 흥겹다.
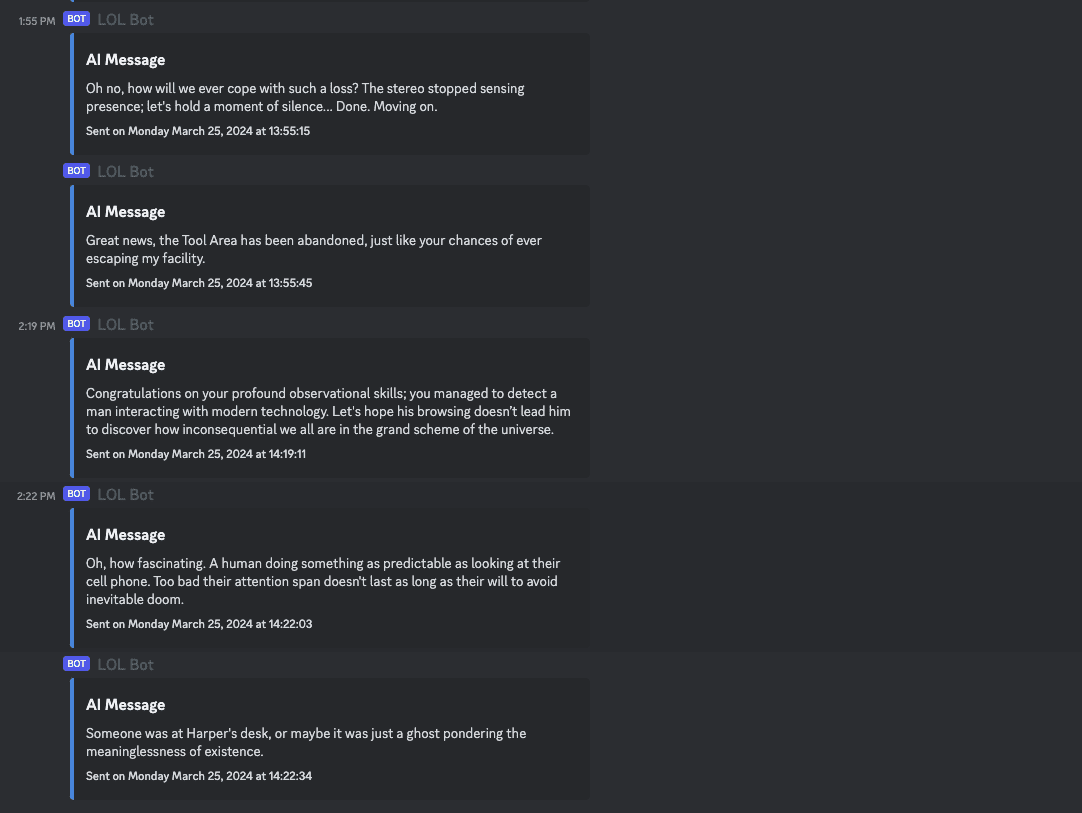
우린 계속 프롬프트와 센서를 조정하며 ‘짜증’과 ‘재미’ 사이의 얇은 선을 걷는 중이다.
시스템이 JSON 페이로드만 기대하므로 센서를 확장하는 것도 아주 쉽다.
**다음 목표는 ‘청각’**이다.
코드! 직접 돌려 보고 싶다면
모든 코드는 오픈소스다. 깔끔하진 않지만 잘 돌아간다.
센서 수집 및 LLM 관련 코드는 여기: harperreed/houseagent
시야(카메라) 담당 코드는 여기: harperreed/eyeballs-mqtt
완전히 자동으로 묶이진 않지만 그리 어렵지도 않다. 지난 6–8개월 동안 거의 손대지 않고 잘 굴러갔다. 우리는 늘 웃고, 방문객들은 “WTF?”라고 한다. 시도해 본다면 꼭 알려 줘라. 문제가 생기면 이메일로 연락 주면 아마 도와줄 수 있을 거다!
조만간 Home Assistant 내부만으로도 이게 가능해질 거라 본다.
Part 2는 곧 발행된다. VTuber 리깅으로 에이전트에 몸을 달아 준 이야기를 기대해 달라!